In this episode, we will be making a Pikachu decoration for the front of our book. If you haven’t read parts 1 and 2, this will still make sense, but if you want to make your own book, I recommend starting at part one.
You Will Need
- The book you have made from part one and part two
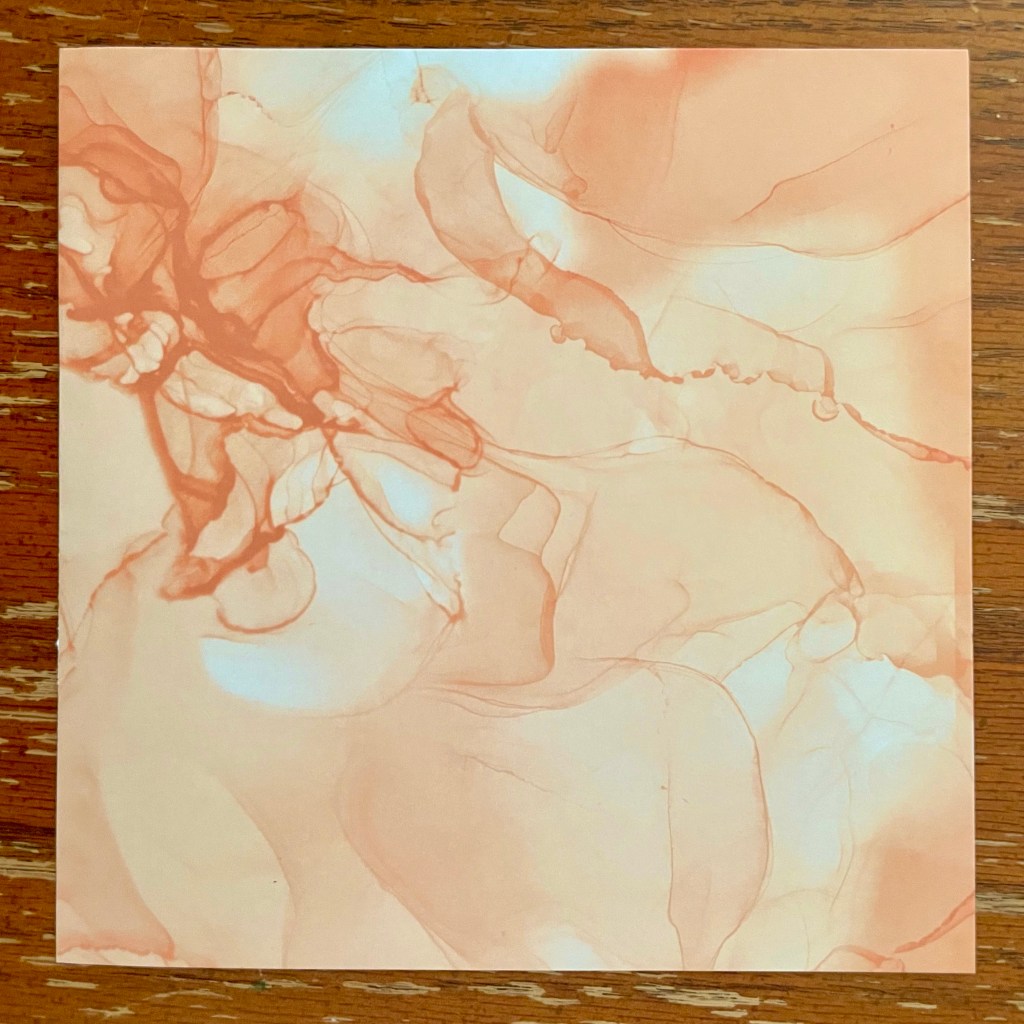
- A piece of origami paper, scrapbook paper, or other colored paper
- Scissors
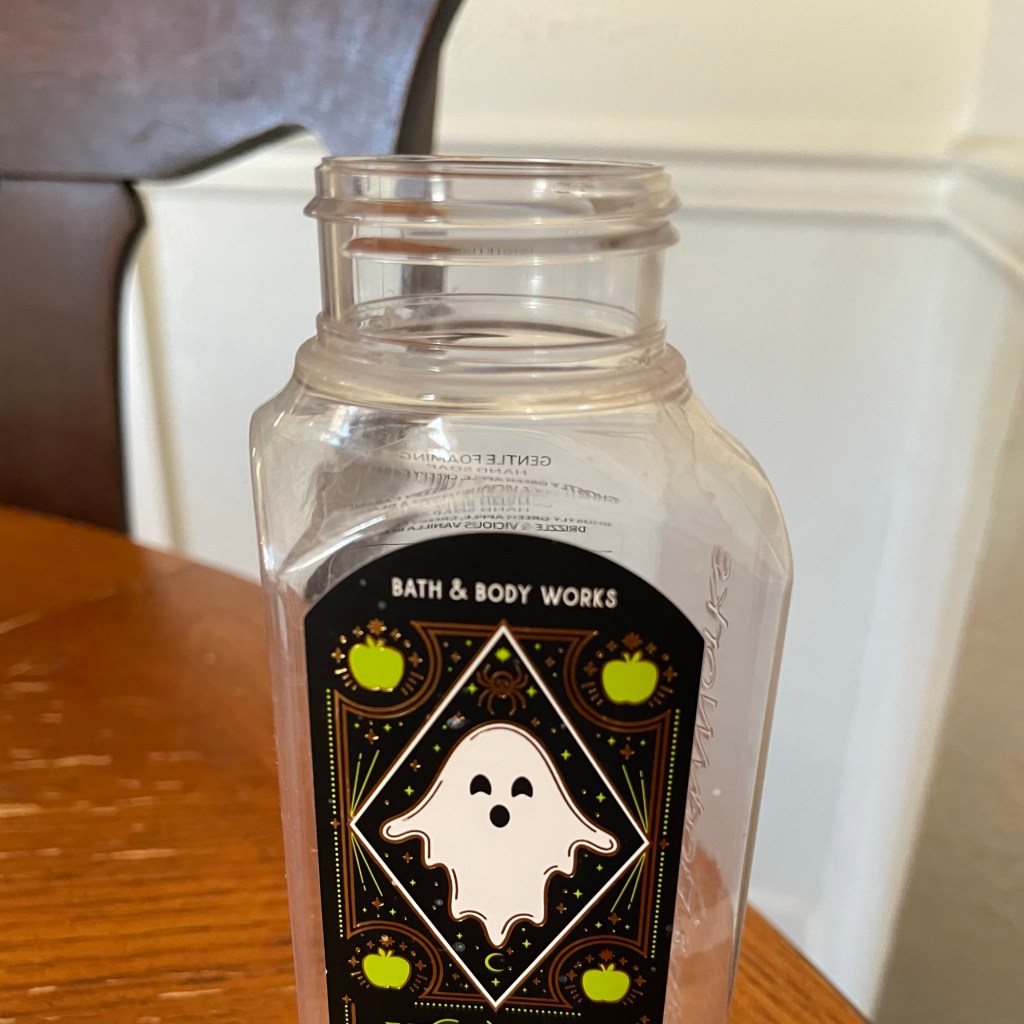
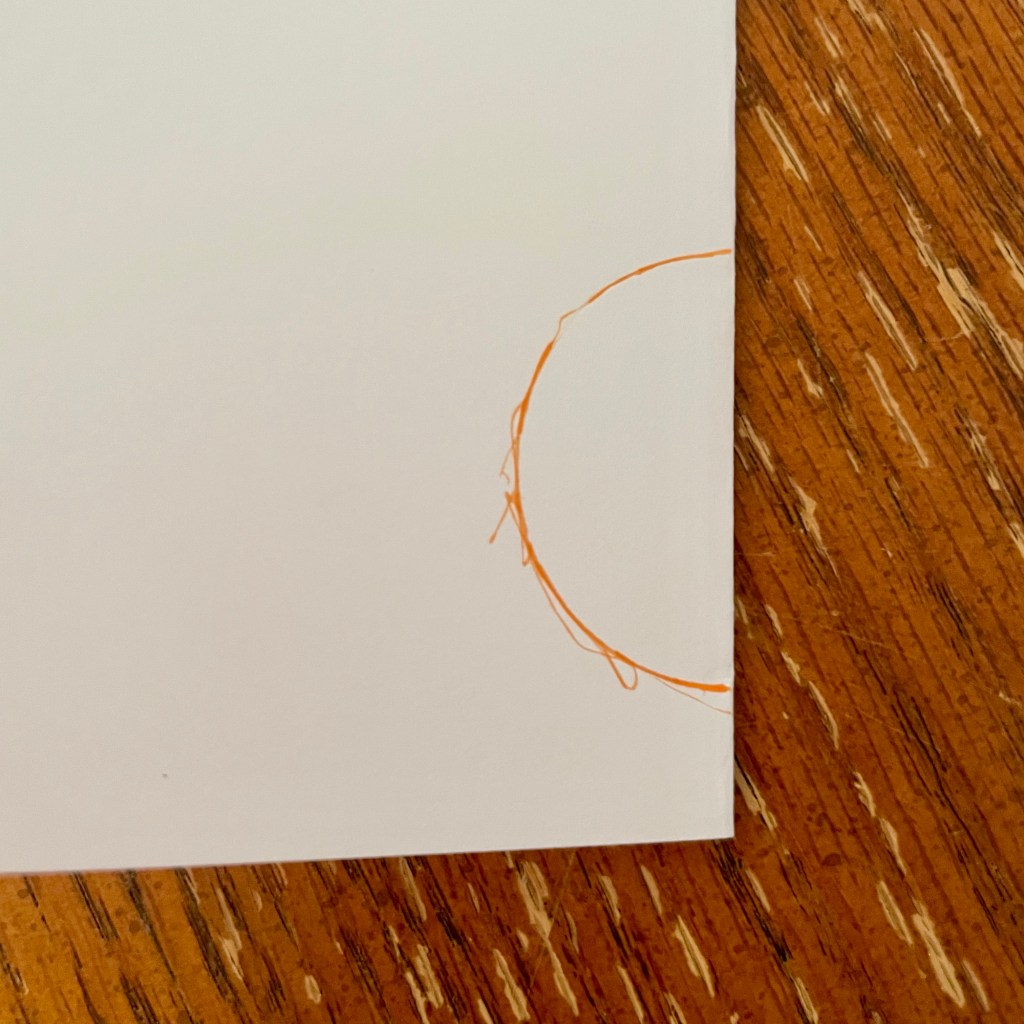
- A circle template (I used the opening on a bottle of B&BW foaming hand soap)
- Pencil or other writing utensil
Instructions
I’m just going to post the photos of the steps in order, with a few notes here and there. This part is pretty self explanatory, but I’ll elaborate for the parts that aren’t.
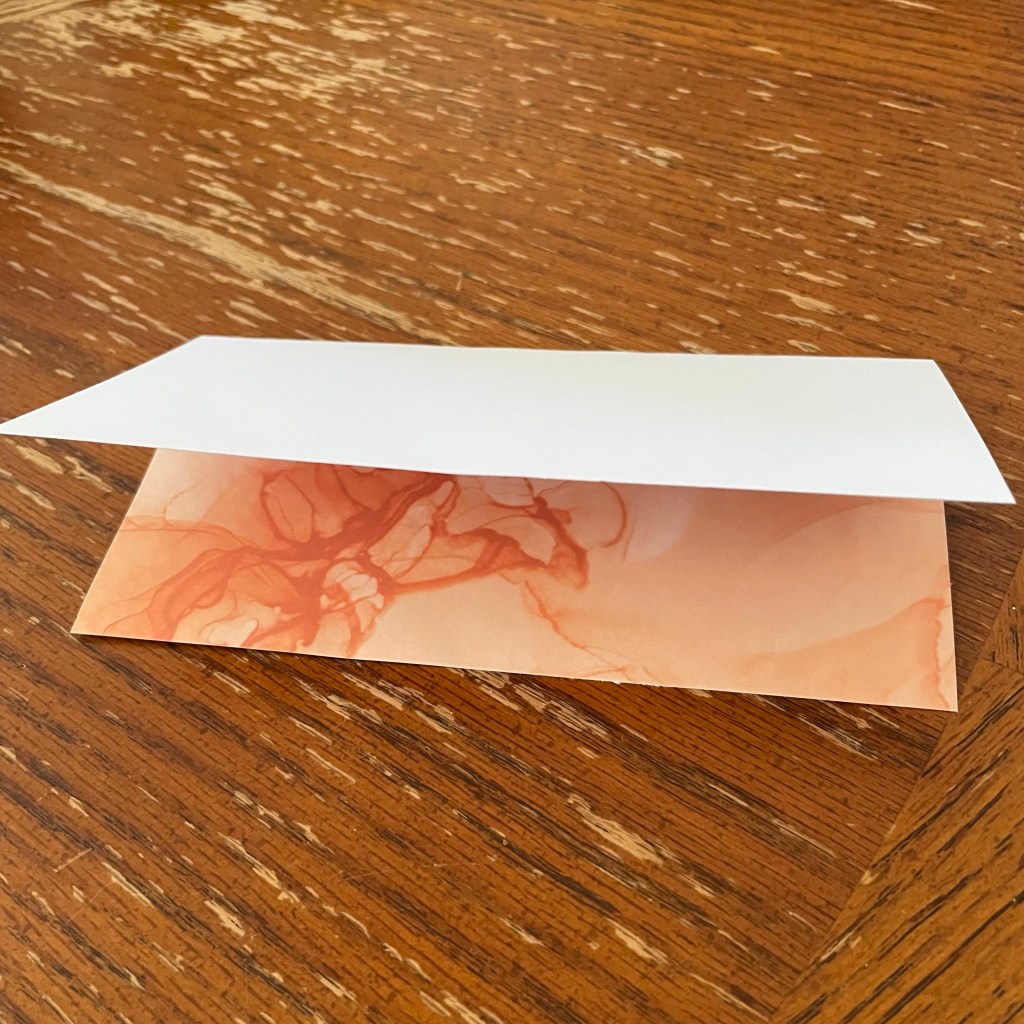

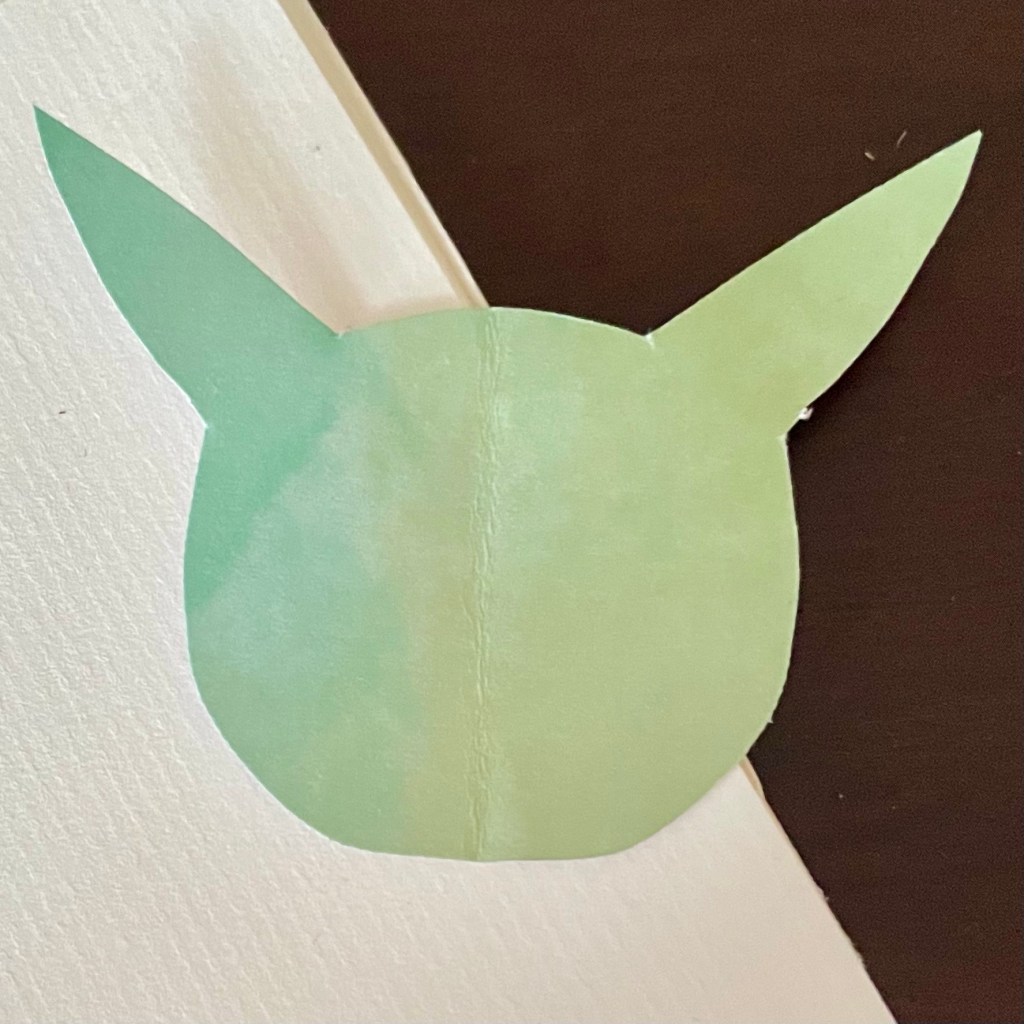
At this point, you may choose to draw in a face. I chose to do this, and it was a poor decision on my part.

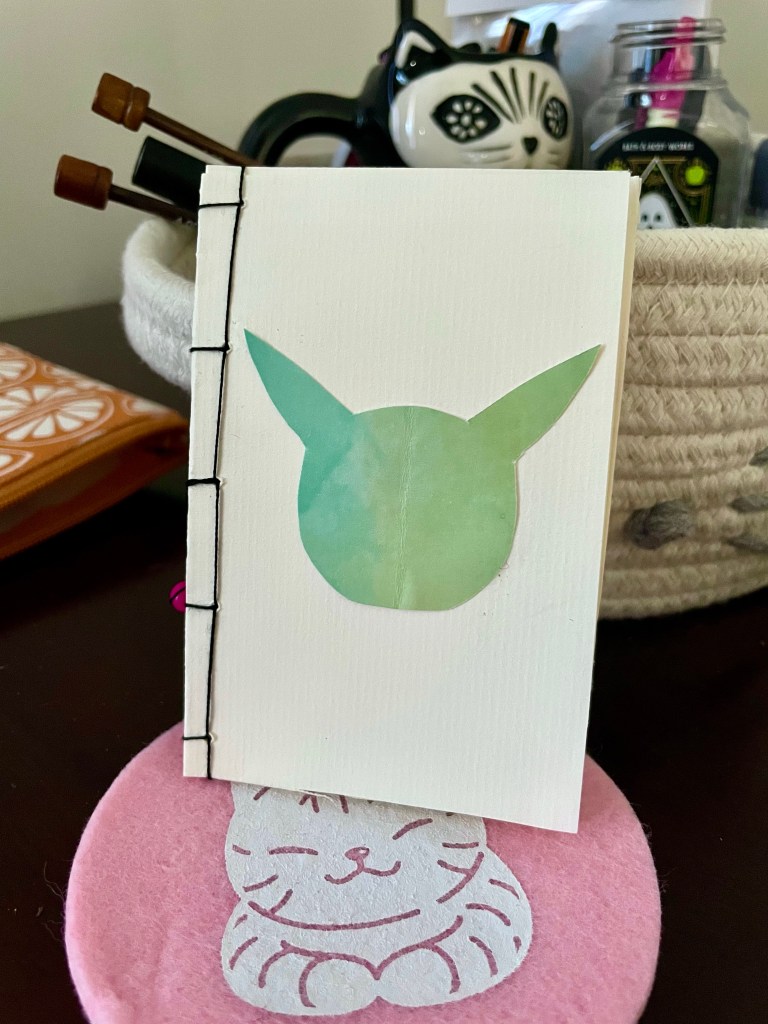
Here’s where you use your glue stick to glue the cutout onto your book.

Ta da! 🎉
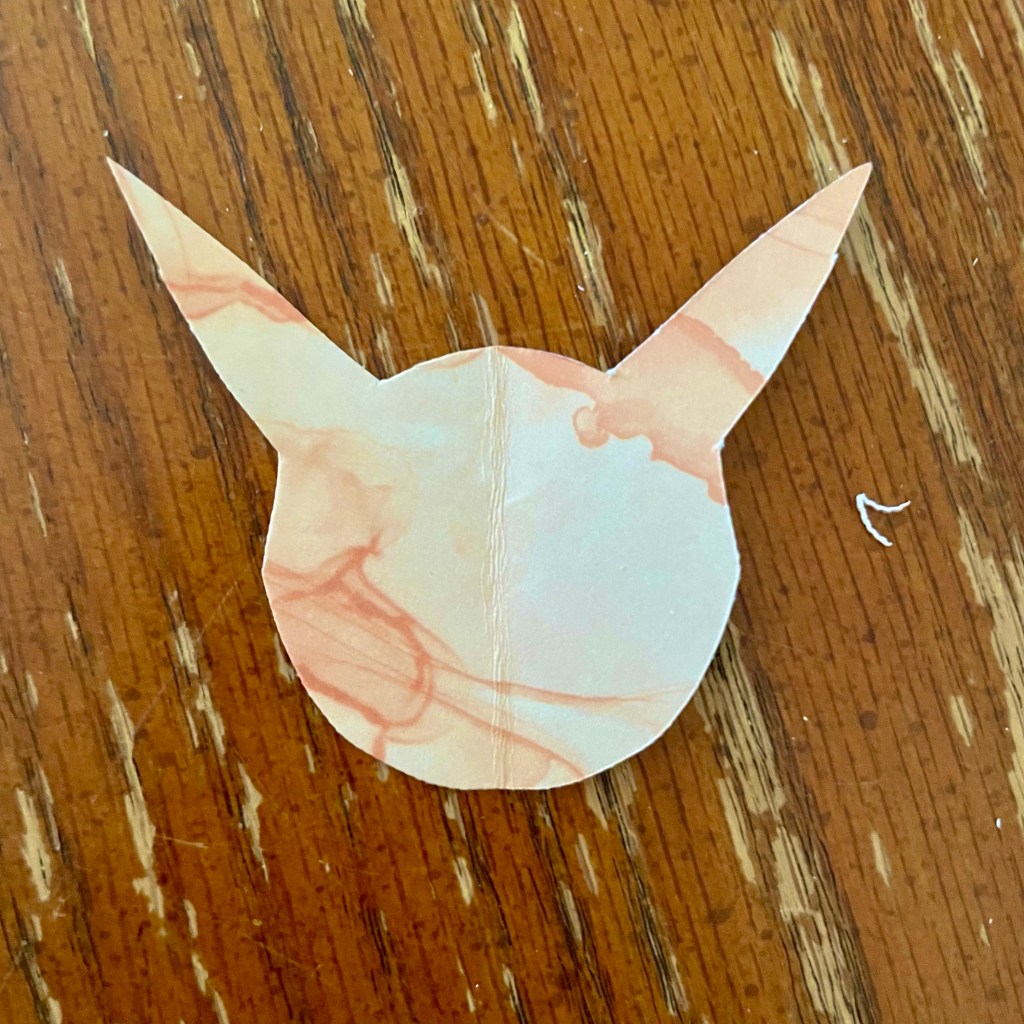
Note: I have made my Pikachu cutout using card stock weight paper. This is why the fold line down the middle is so prominent. If you use a piece of regular weight paper, the crease will be less prominent, and your cutout will also be easier to glue on.
That’s the end of this series! Thanks for following along and liking the posts, your support means a lot.
I haven’t decided what the next series will be, but I do know that I won’t be starting it until the new year. Stay tuned for updates!

Leave a comment